Overview
This guide walks you through integrating Microsoft Exchange Server with PlusAuth using WS-Federation for authentication. You will configure a PlusAuth client, install necessary certificates, update Exchange Server settings, and set up an AD/LDAP connection.
Exchange Server integration with PlusAuth requires Active Directory Federation Services to be installed in your Exchange Server. You can check whether if it is installed or not with following command in a PowerShell session:
Get-WindowsFeature ADFS-FederationIf it is installed you will see something like this:
Display Name Name Install State------------ ---- -------------[X] Active Directory Federation Services ADFS-Federation Installed
1. Create a PlusAuth Client
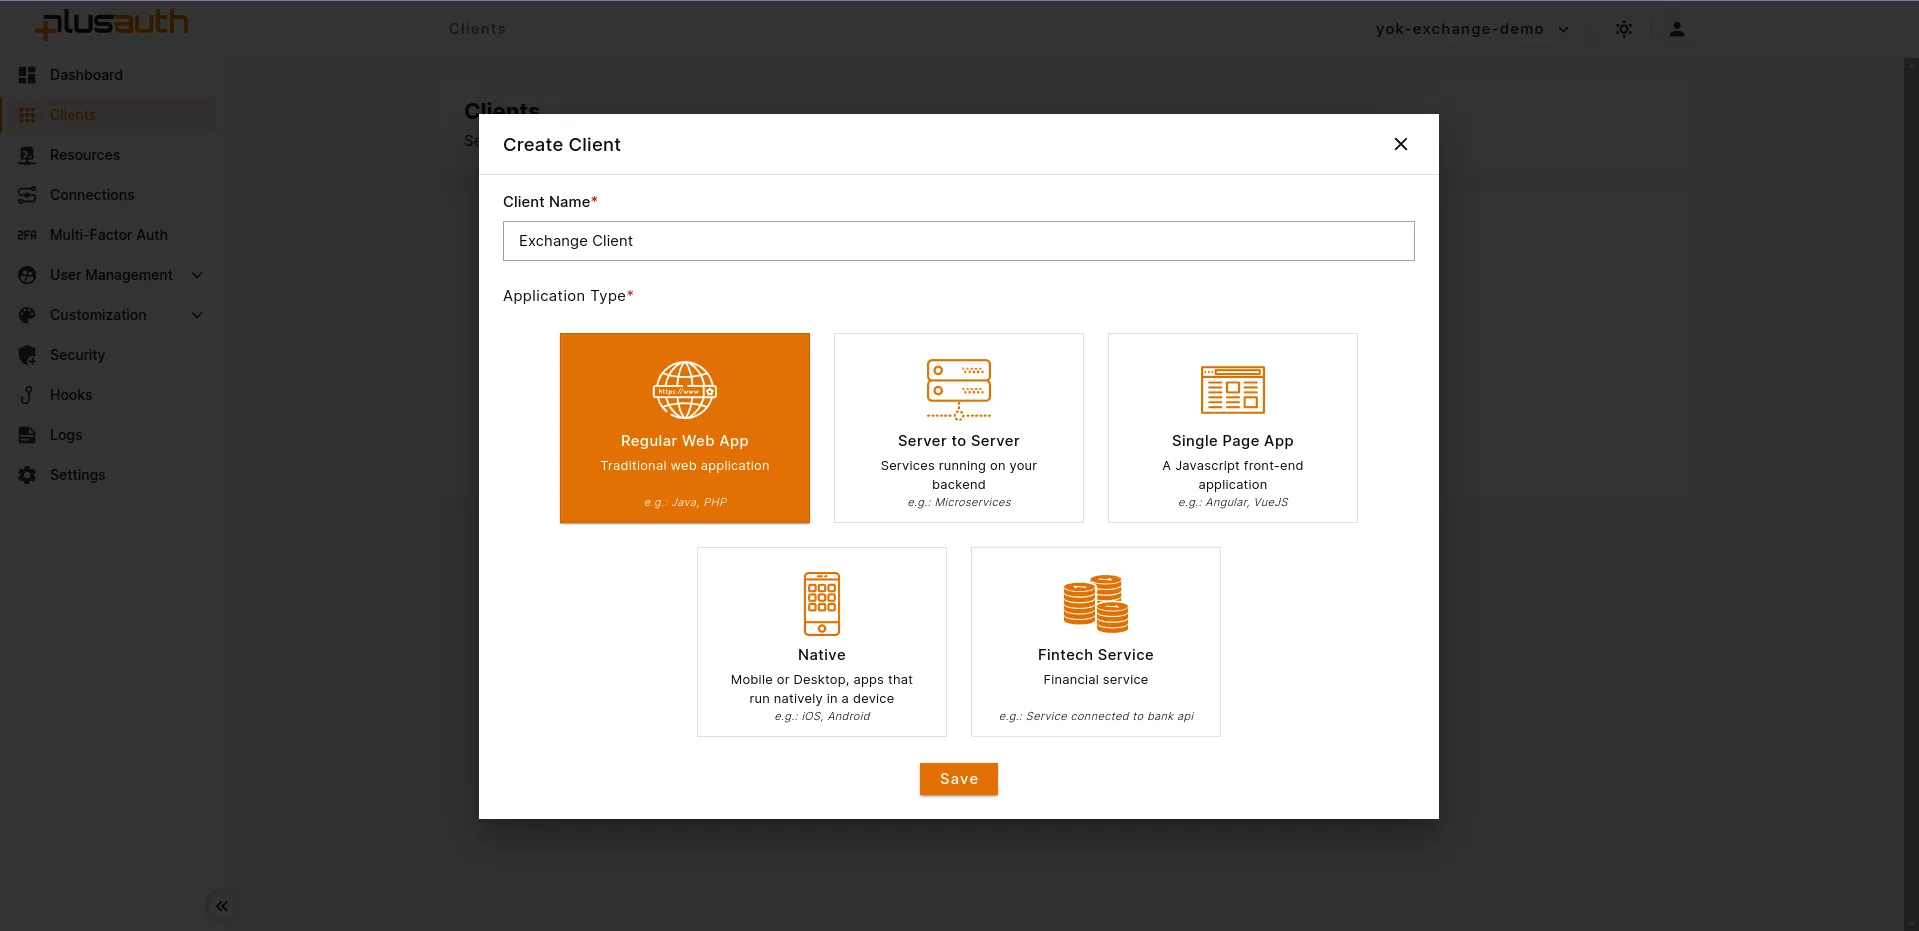
- Navigate to Dashboard > Clients in your PlusAuth console.
- Click the Create button to create a new client.
- Select Regular Web App as the client type and give it an identifiable name.
- After creating the client, go to its Details page and open the Connectors tab.
- Select WS-Fed as the connector type.
Now, configure WS-Federation settings:
Realm:
https://{owa-url}Example:https://mail.example.com/owa/Application Callback URL:
https://{owa-url}Example:https://mail.example.com/owa/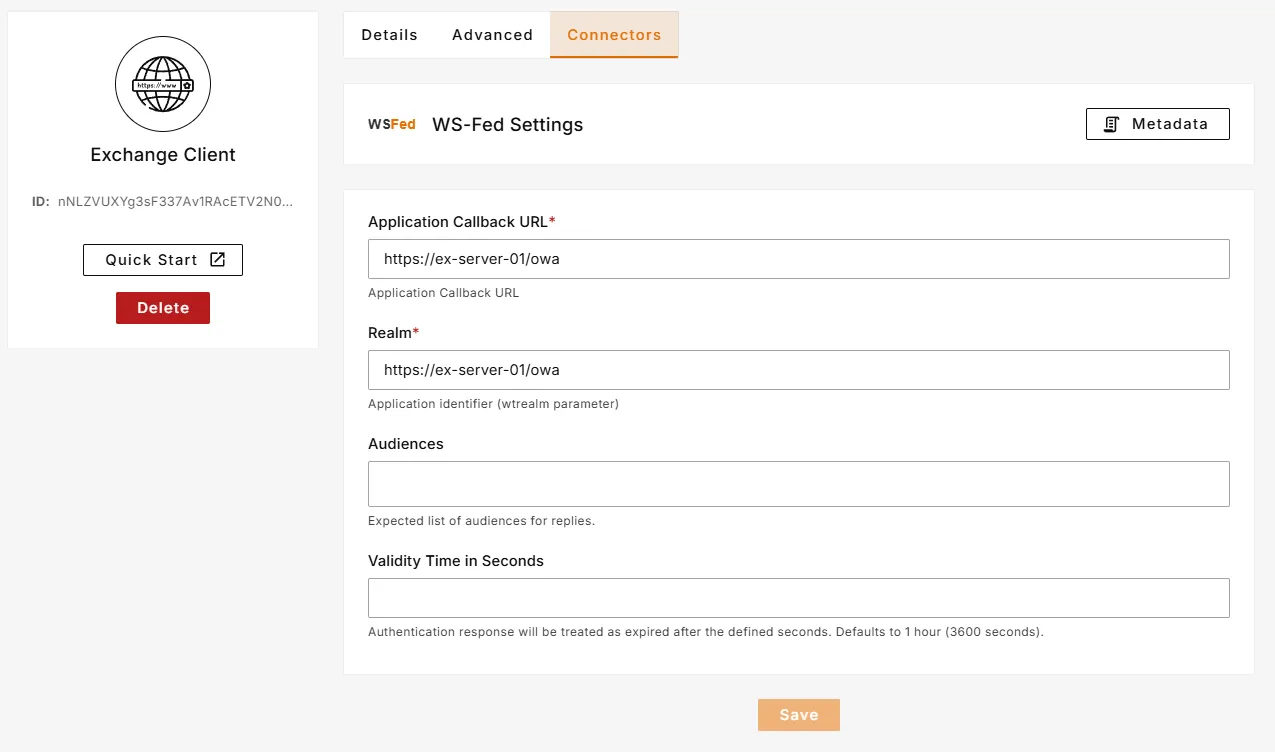
2. Download and Install Certificate on Exchange Server
- After saving WS-Federation settings, click on the Metadata button right above the form.
- Click Download Certificate and save it to your Exchange Server machine. You can also copy certificate contents and paste them in a file with
.crtextension. - Copy and securely store the Certificate Thumbprint — you will need it later.
Next, install the downloaded certificate into the Trusted People store on the Exchange Server:
- Open the Run dialog (Win + R), type
mmc, and press Enter. - In the Management Console, go to File > Add or Remove Snap-ins (Ctrl + M).
- Find and add Certificates from the left panel.
- In the Certificate Snap-In window:
- Choose Computer account and click Next.
- Select Local Computer and click Finish.
- In the console tree, expand Certificates (Local Computer) > Trusted People.
- Right-click Trusted People > All Tasks > Import.
- Follow the Import Wizard:
- Choose the downloaded certificate.
- Click Next through the steps and Finish.
- Close the Management Console without saving the snap-in layout.
3. Configure Exchange Server WS-Federation Settings
Now, configure Exchange Server to trust PlusAuth by executing the following commands in the Exchange Management Shell:
- Define the accepted URLs for OWA and ECP endpoints:
$uris=@( "https://##Base URL##/owa/", "https://##Base URL##/ecp/", "https://##Base URL##/owa", "https://##Base URL##/ecp")Replace ##Base URL## with your actual OWA hostname.
- Configure WS-Federation settings:
Set-OrganizationConfig -AdfsIssuer "##PlusAuth Issuer##" -AdfsAudienceUris $uris -AdfsSignCertificateThumbprint "##Cert Thumbprint##"Replace following values from the Metadata dialog in the PlusAuth client settings.
##PlusAuth Issuer##: The WS-Federation Reply URL from PlusAuth.
##Cert Thumbprint##: The SHA-1 thumbprint of the certificate you downloaded earlier. 3. Disable other authentication methods to force PlusAuth authentication:
First disable for ECP (Exchange Control Panel)
Get-EcpVirtualDirectory | Set-EcpVirtualDirectory -AdfsAuthentication $true -BasicAuthentication $false -DigestAuthentication $false -FormsAuthentication $false -WindowsAuthentication $falseAnd then disable for OWA (Outlook Web App)
Get-OwaVirtualDirectory | Set-OwaVirtualDirectory -AdfsAuthentication $true -BasicAuthentication $false -DigestAuthentication $false -FormsAuthentication $false -WindowsAuthentication $false -OAuthAuthentication $false- Restart IIS services to apply your changes:
net stop was /ynet start w3svc
4. Create AD/LDAP Connection
- Go to
Dashboard > Connections - Create a new
AD / LDAPEnterprise connection - Enter name, and select the client created above.
- Fill required fields according to your AD/LDAP connection.
- After creating the connection, toggle Default Connection to make it the default for your tenant.
For more details on creating AD/LDAP connection, have a look at AD/LDAP Connections
5. Test login
- Navigate to Outlook Web Access (OWA) login page. For example: https://mail.example.com/owa/
- You should be redirected to PlusAuth's login screen.