Microsoft Exchange Server
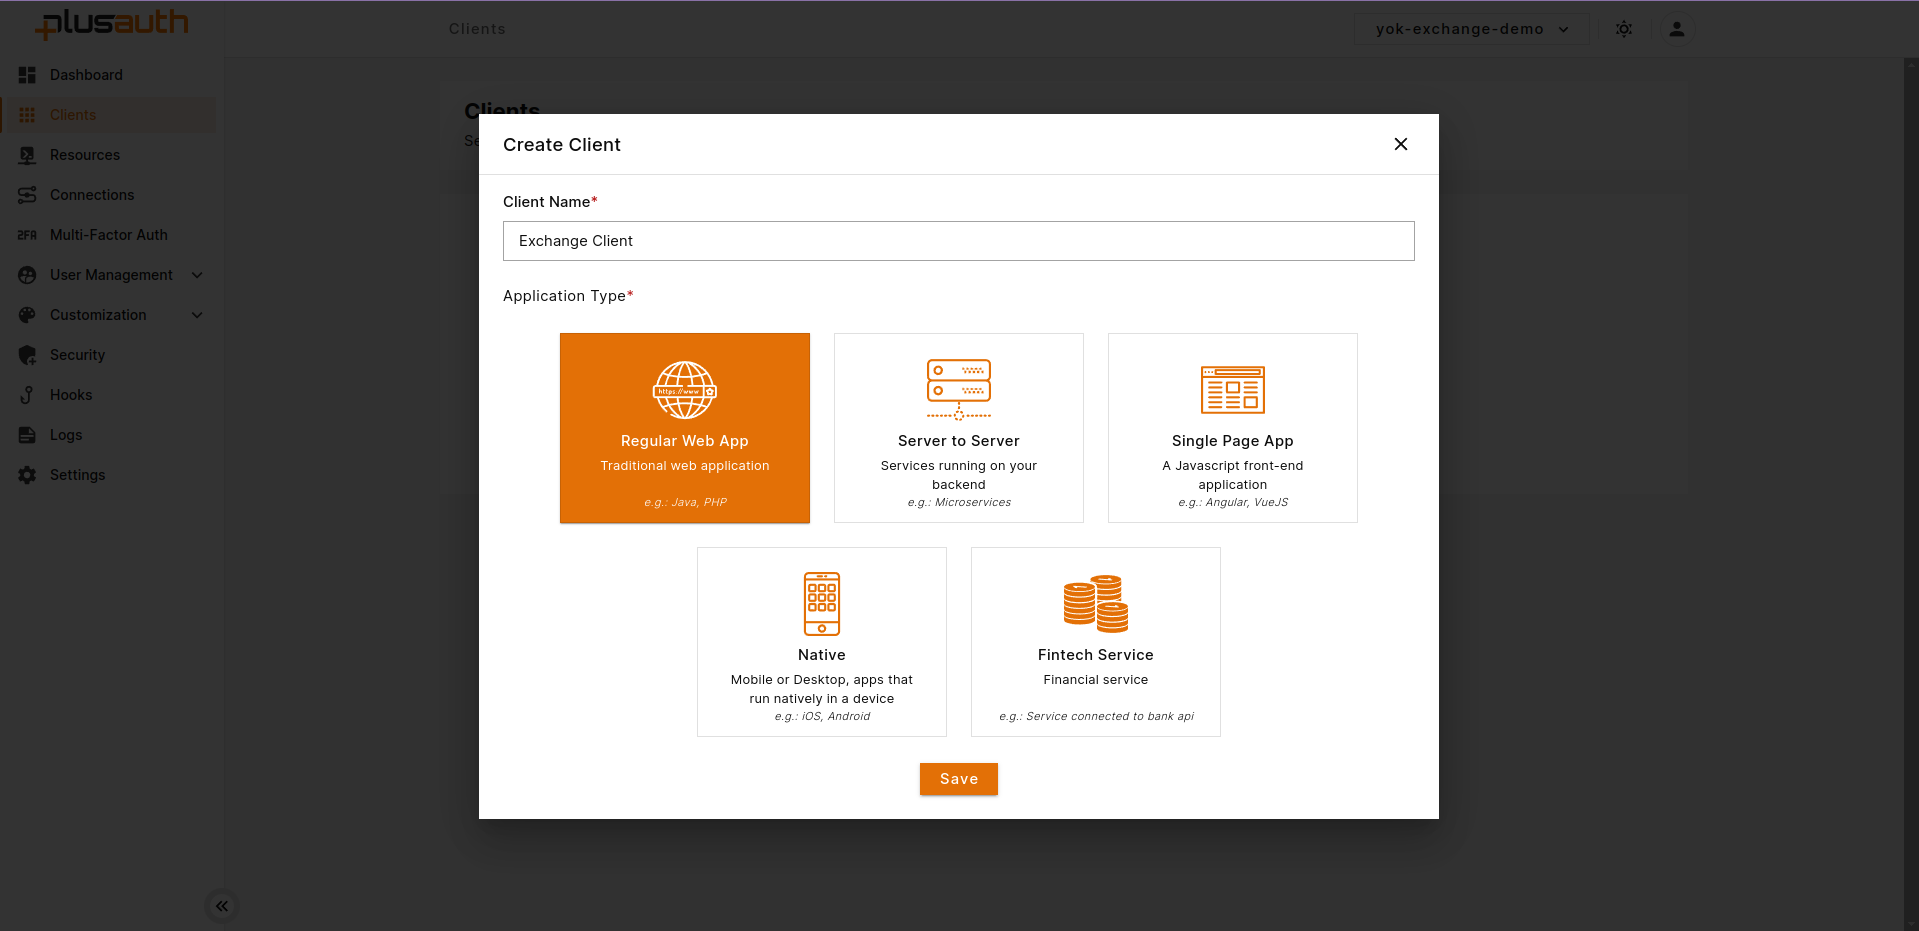
- Go to Dashboard > Clients and Create a new Client by clicking "Create" button
- Create a Regular Web App client with any name
- Go to created client details and "Connectors" tab
- Select WS-Fed
- Enter the following information in the respective fields.
- Realm:
https://{owa-url}e.g. https://mail.example.com/owa/ - Application Callback URL:
https://{owa-url}e.g. https://mail.example.com/owa/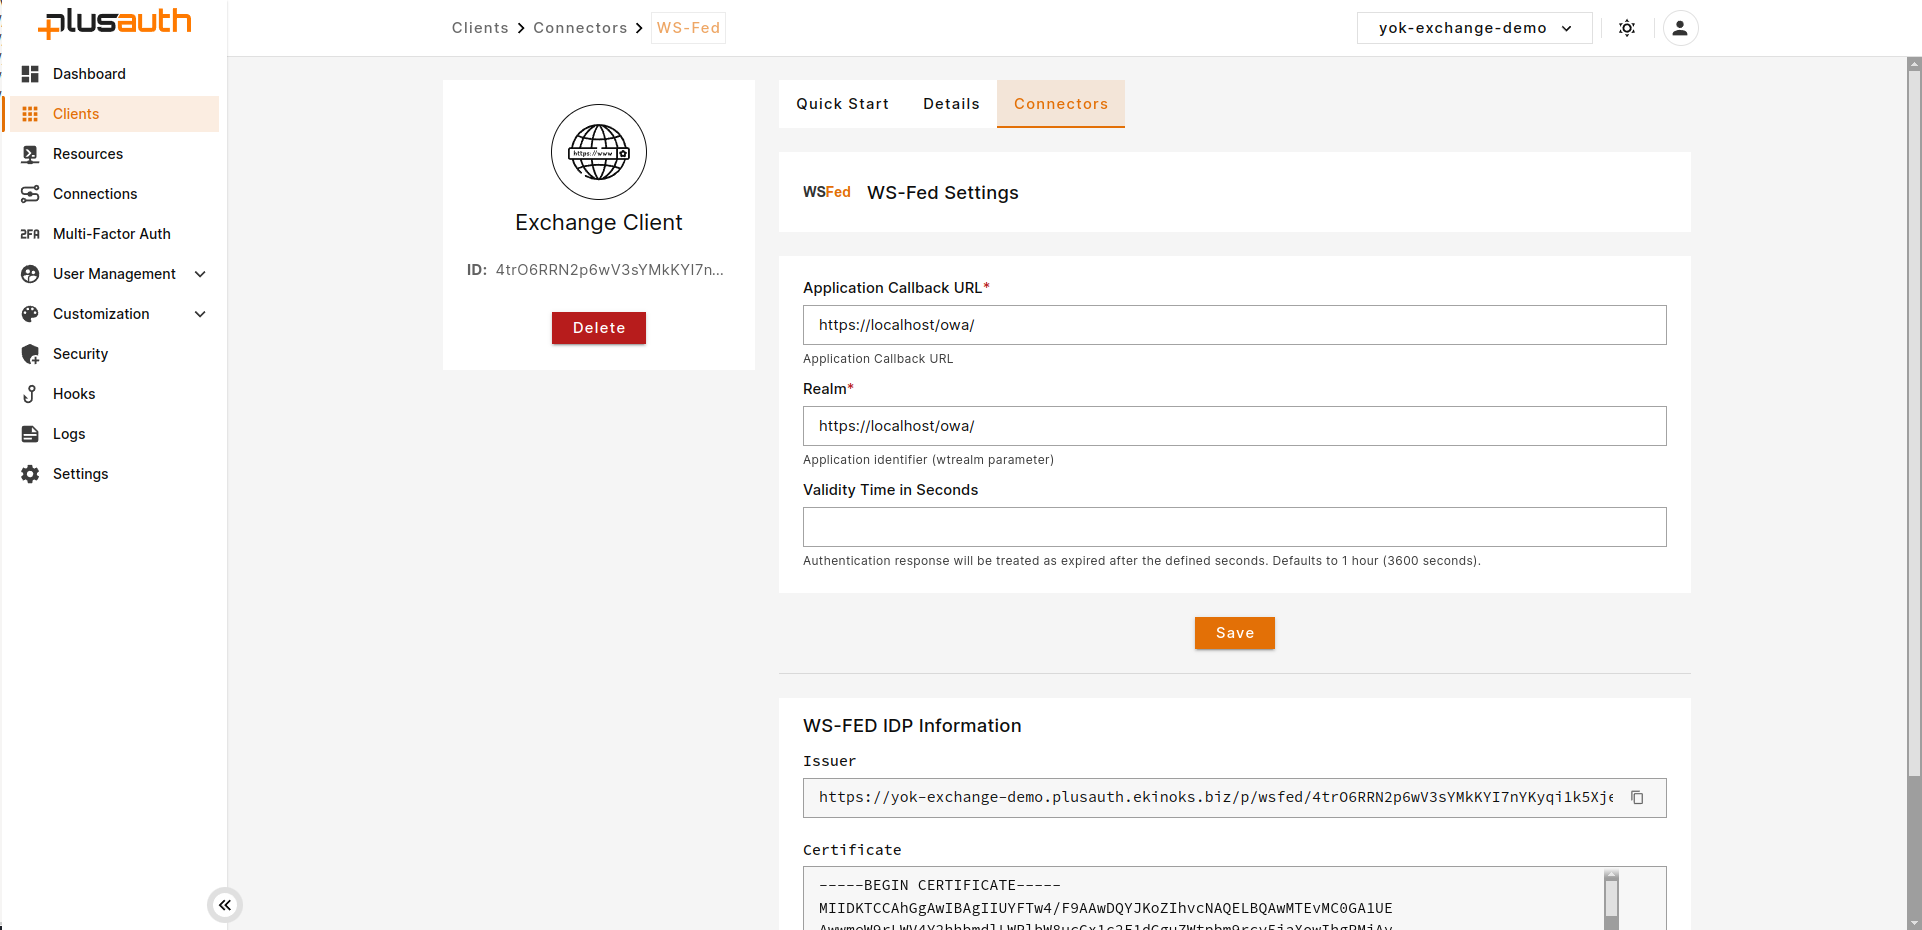
- Realm:
- Click to Download Certificate button and save it to your exchange server.
- Save Certificate Thumbprint to somewhere as we will use it in later steps.
- Add above certificate (obtained in above step) to the Trusted People store on the Exchange Server using the steps below:
- Got to
Management Console. Open run dialog (Win + R) and typemmcand press enter. - In Management Console, go to
File > Add or Remove Snap-ins (Ctrl + M). - Search for
Certificateson the left side and press Add. - In the Certificate Snap In window, select
Computer accountand press Next. Then selectLocal Computerand press Finish. - You will see an entry for
Certificates (Local Computer)in the right pane. Click OK to close the Add or Remove Snap-ins window. - You will see a branch named
Certificatescreated underConsole Root. Expand theCertificatesbranch and selectTrusted People. - Right click on
Trusted People > Find > Importand click on Next. - Choose the location of the downloaded certificate file you created above and click on Next, again Next and Finish.
- You have successfully added a Signing Certificate to Trusted People. Now close Management Console and choose No on the Save data prompt.
- Got to
- Execute the commands below on the Exchange Server using the
Exchange Management Shell.- In the below command,
##Base URL##is the exchange/OWA host. The command has both URLs: One ending in / and the other one which does not contain a trailing slash.$uris=@("https://##Base URL##/owa/","https://##Base URL##/ecp/","https://##Base URL##/owa","https://##Base URL##/ecp") - In the below command, the
##PlusAuth Issuer##is the WS-Federation Reply URL. The##Cert Thumbprint##is the SHA-1 Thumbprint of the certificate you downloaded. You can copy these values from PlusAuth Dashboard where we have configured WS-Fed in above steps.Set-OrganizationConfig -AdfsIssuer "##PlusAuth Issuer##" -AdfsAudienceUris $uris -AdfsSignCertificateThumbprint "##Cert Thumbprint##" - Now we are disabling other authentication mechanisms to let PlusAuth handle it.
Get-EcpVirtualDirectory | Set-EcpVirtualDirectory -AdfsAuthentication $true -BasicAuthentication $false -DigestAuthentication $false -FormsAuthentication $false -WindowsAuthentication $falseGet-OwaVirtualDirectory | Set-OwaVirtualDirectory -AdfsAuthentication $true -BasicAuthentication $false -DigestAuthentication $false -FormsAuthentication $false -WindowsAuthentication $false -OAuthAuthentication $false - Finally, restart services to apply these changes.
# Restart w3svc and was
net stop was /y
net start w3svc
- In the below command,
- Create AD/LDAP Connection
- Go to
Dashboard > Connections - Create a new
AD / LDAPEnterprise connection - Enter name, and select the client created above.
- Fill required fields according to your AD/LDAP connection.
- Search Filter: Enter LDAP filter to find user with parameter submitted from login page. Ex.
(mail={{username}}) 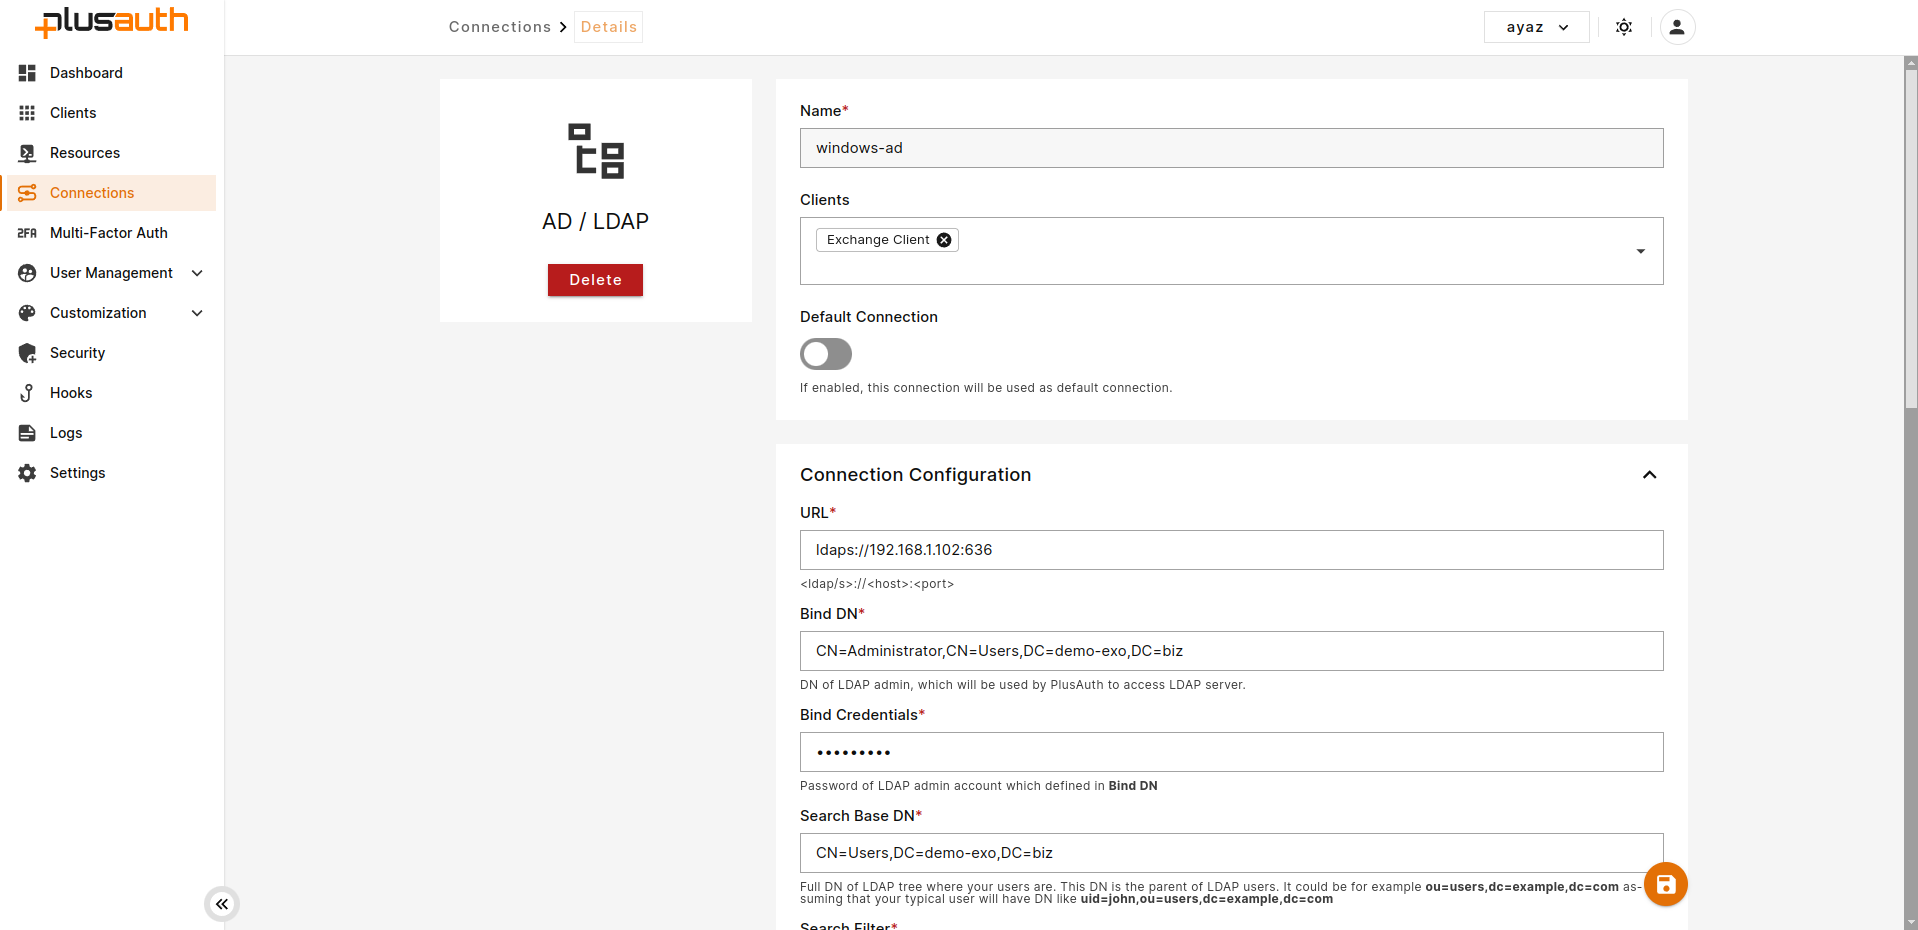
- Search Filter: Enter LDAP filter to find user with parameter submitted from login page. Ex.
- After creating connection make it default by toggling
Default Connection
You can use following command to get your AD user's all attributes. Replace
##Username## with a valid username.get-aduser ##Username## -Properties *
- Test login
- Go to owa login page